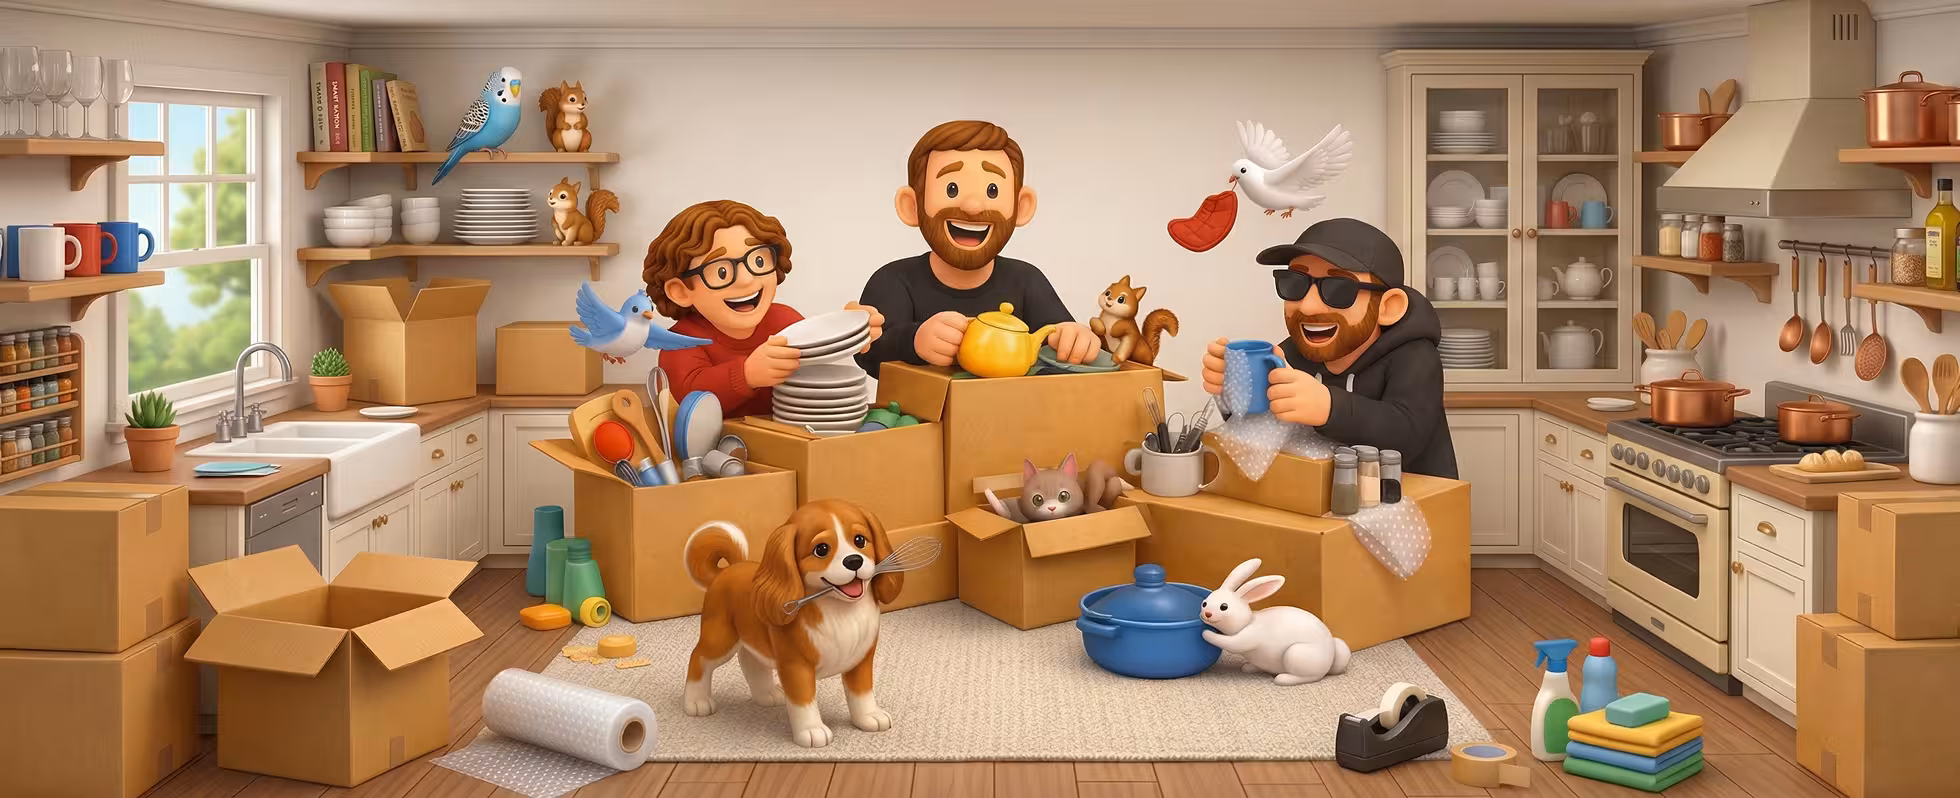
The kitchen is the heart of the home, but when it comes to moving day, it quickly becomes the most intimidating room in the house. Between fragile wine glasses, heavy cast-iron skillets, oddly shaped appliances, and drawers full of sharp knives, packing a kitchen requires serious strategy.
Don't let the cabinets overwhelm you! Follow this step-by-step master guide to safely and efficiently pack your kitchen for your upcoming move.
1. The Pre-Pack Purge
Before you even touch a cardboard box, you need to declutter. There is no point in paying to move things you no longer need or want.
- Eat Down the Pantry: In the weeks leading up to your move, try to plan meals around what you already have in your freezer and pantry.
- Toss and Donate: Throw away expired spices, half-empty condiment bottles, and freezer-burnt food. Donate unexpired, non-perishable canned goods to a local food bank.
- Ditch the Duplicates: Do you really need three spatulas and that blender you haven't used since 2019? Now is the time to donate unused gadgets.
2. Gather the Right Supplies
The kitchen is not the place to skimp on packing materials. To ensure your dishes survive the journey, you will need:
- Heavy-Duty Boxes: Standard boxes are okay for lightweight items, but you want Dish Barrel Boxes (double-walled cardboard) for fragile plates and glasses.
- Unprinted Packing Paper: Avoid newspaper! The ink can easily rub off onto your clean white plates and appliances.
- Bubble Wrap: Essential for highly fragile or oddly shaped items.
- Packing Tape & Thick Markers: For securing boxes and labeling them clearly (e.g., "KITCHEN - FRAGILE - PLATES").
3. Packing Strategy: Category by Category
Plates and Bowls
- The Golden Rule: Never pack plates flat! They are much more likely to crack under pressure.
- Wrap each plate individually in packing paper. Place them vertically in the box (like records in a crate). Stuff the top and sides of the box with crumpled paper so nothing shifts during transit.
Glasses and Mugs
- Gently stuff the inside of each glass with crumpled packing paper, then roll the entire glass in another sheet of paper.
- Pack the heaviest, thickest mugs at the bottom of the box, and the most fragile stemware at the top.
Pots, Pans, and Tupperware
- Nest them! Place smaller pots inside larger ones to save space. Put a sheet of packing paper between each layer to prevent scratching, especially for non-stick pans.
- Pack glass lids separately, wrapped in bubble wrap.
Knives and Silverware
- Wrap your silverware tray tight in plastic stretch wrap so the forks and spoons stay exactly where they are.
- For sharp chef's knives, wrap each blade in a layer of cardboard, tape it securely, and then wrap it in packing paper. Safety first!
Small Appliances (Blenders, Toasters, Coffee Makers)
- If you still have the original boxes, use them! If not, wrap the appliance completely in bubble wrap.
- Remove any loose parts (like the glass microwave plate or the blender pitcher) and wrap them separately.
- Tie up the power cords so they don't scratch the appliance.
4. Pack an "Open Me First" Kitchen Box
After a long day of hauling boxes, you are not going to want to unpack the entire kitchen just to have a snack or make a cup of coffee the next morning. Pack one clearly labeled box with your Day 1 essentials:
- Your coffee maker, coffee, filters, and a few mugs.
- A couple of plates, forks, and a sharp knife.
- Paper towels, dish soap, and a sponge.
- Trash bags and a multi-purpose cleaner.
- Pet food and bowls (if you have furry friends!).
Need a Helping Hand?
Even with the best strategy, packing a kitchen is incredibly time-consuming. If you'd rather leave the fragile items to the experts, our professional packing team is here to help! We bring the heavy-duty supplies, the expertise, and the muscle to ensure your entire kitchen is boxed up safely and securely.
If moving then Cactus Moving!